Sometimes you just need a quick was to centrally store and share files on a network. You get bonus points if that capability supports a collection of file sharing protocols (NFS, SMB, AFS and so on). There are more options available to do this than you can poke a stick at.
You can:
- Buy a NAS.
This option usually ticks most boxes, though for what they are, they’re hideously expensive; Small enclosures, limited expansion options, under powered processors, architecture limitations. - Build a Windows file server.
This introduces licensing considerations, limited protocol availability and flexibility, heavy resource consumption. - Build a Linux-based file server.
The skill level and learning curve for this generally leads to incomplete and/or poor implementation, interoperability may require levelling up to Ninja status. - Deploy an open source or commercial NAS solution.
While very capable, these types of solutions can be overkill if all you’re looking for is something simple. This option typically also requires significant memory and storage resources to operate.
All these options are viable, and depending on your need, there may be one that that fits your needs best. But what if you want something simple? Something that provides sophisticated capabilities without costing excessive time and money. Say, for example, virtualising a SOHO NAS environment.
Xpenology
Enter stage-left Xpenology. Xpenology (https://xpenology.org) is a bootloader for Synology’s operating system – DSM (Disk Station Manager). DSM operates on a custom Linux version developed by Synology. Xpenology allows you to run the Synology DSM on any x86 device, including as a virtual machine.
This allows you to benefit from the features of DSM without requiring the specific Synology hardware. This provides added flexibility by allowing different processors, additional memory as well as an opportunity to recover from hardware failures.
Tinycore Redpill
Tinycore Redpill (https://github.com/pocopico/tinycore-redpill) is a bootstrap environment that automates building of a Xpenology bootloader for virtual environments. The tool allows you to simulate a Synology device from a list of available appliances.
The Build
Create a VM
- Create a new VM with the following settings:
- Guest OS family: Linux
- Guest OS version: Other 3.x Linux (64-bit)
- CPU: >= 2 cores
- Memory: >= 2 GB (though 4GB is suggested)
- Disk: None (for now). If there is one defined by default, remove it.
- Firmware: BIOS
- Download the tinycore-redpill VMDK release from Github. The latest should be fine, though v0.10.0.0 has been verified as operational. e.g.
tinycore-redpill.v0.10.0.0.vmdk.gz - Unzip the tinycore VMDK:
gunzip tinycore-redpill.v0.10.0.0.vmdk.gz- Move the extracted VMDK file to the VM datastore and convert it to a format that can be read by ESX:
vmkfstools -i tinycore-redpill.v0.10.0.0.vmdk <nas_name>-tinycore.vmdk- Add storage to the VM:
- Add the tinycore VMDK file as an existing disk. It should be assigned to the existing SATA controller (SATA 0:0),
- Add a new SATA controller.
- Add a new disk and associate it with the new SATA controller (SATA 1:0). This disk is used to install and operate the Synology DSM, and will need to be at least 21 GB. It can be created as Thin provisioned to save on space.
- Power on the VM.
Building the Xpenology bootloader
The VM initially launches with a GRUB boot menu listing a single option: Tiny Core Image Build. This option boots a Tiny Core instance that is used to prep and build the Xpenology bootloader.
You can perform the bootloader configuration either through the VM console, or via SSH. If you prefer using SSH, which may be preferable to accommodate copy/paste, use the ifconfig command from the console to find the IP address of the Tiny Core instance.
- Log in to the Tiny Core instance via SSH and elevate to
su.
Username:tc
Password:P@ssw0rd
sudo su- Run updater tasks to retrieve the latest artefacts for building the bootloader:
./rploader.sh update
Checking Internet Access -> OK
Checking if a newer version exists on the main repo -> Found newversion : 0.10.0.0
Current version : 0.10.0.0
There is a newer version of the script on the repo should we use that ? [yY/nN]y
OK, updating, please re-run after updating
Updating tinycore loader with latest updates
Backing up files to /mnt/sda3//mydata.tgz
Done.
./rploader.sh fullupgrade
Performing a full TCRP upgrade
Cloning into 'tinycore-redpill'...
remote: Enumerating objects: 1273, done.
remote: Counting objects: 100% (1273/1273), done.
remote: Compressing objects: 100% (1017/1017), done.
remote: Total 1273 (delta 271), reused 1206 (delta 235), pack-reused 0
Receiving objects: 100% (1273/1273), 21.54 MiB | 6.40 MiB/s, done.
Resolving deltas: 100% (271/271), done.
Please make sure you are using the latest 1GB img before using backup option
Current /home/tc size is 56M , try to keep it less than 1GB as it might not fit into your image
Should i update the sda with your current files [Yy/Nn]
y
Backing up home files to sda : Backing up files to /mnt/sda3//mydata.tgz
Done.- Generate a serial number for the chosen model of Synology hardware. Use the
realmacdirective to use the MAC address of the VM. This is important as the VM MAC address, assigned at boot must match the MAC address assigned to the bootloader. In this example, I’m using the DS923+. You can view a list of all available options by running the command./rploader.shon its own:
./rploader.sh serialgen DS923+ realmac
Serial Number for Model = 2270TQRD7HBDM
Mac Address for Model DS923+ = 90:09:d0:3A:8F:E9
Real Mac Address : 00:0C:29:E8:99:10
Notice : realmac option is requested, real mac will be used
Should i update the user_config.json with these values ? [Yy/Nn]
y- Run the satamap command to map the SATA controllers appropriately to the bootloader:
./rploader.sh satamap
Machine is VIRTUAL Hypervisor=VMware
Found "02:00.0 VMware SATA AHCI controller"
Detected 30 ports/2 drives. Mapping SATABOOT drive after maxdisks
WARNING: Other drives are connected that will not be accessible!
Found "02:01.0 VMware SATA AHCI controller"
Detected 30 ports/0 drives. Defaulting 8 virtual ports for typical system compatibility
Override # of ports or ENTER to accept <8>
Computed settings:
SataPortMap=18
DiskIdxMap=1000
Should i update the user_config.json with these values ? [Yy/Nn] y
Done.- Build the bootloader, specifying the target version of DSM. The
autodirective allows the process to detect which drivers to include:
./rploader.sh build ds923p-7.2.0-64570 auto
bspatch does not exist, bringing over from repo
  % Total    % Received % Xferd  Average Speed   Time    Time     Time  Current
                                 Dload  Upload   Total   Spent    Left  Speed
100 10232  100 10232    0     0  31875      0 --:--:-- --:--:-- --:--:-- 31776
Rploader Version : 0.10.0.0
Loader source : https://github.com/pocopico/redpill-load.git Loader Branch : develop
Redpill module source : https://github.com/pocopico/redpill-lkm.git : Redpill module branch : master./rploader.sh build ds923p-7.2.0-64570 auto
...
Removing older cached pat files to cache current
Found /home/tc/redpill-load/cache/ds923p_64570.pat, copying to cache directory : /mnt/sda3/auxfiles
Saving user session for future use. Saving current extensions  -> OK !
Saving current user_config.json -> OK !- Save the TinyCore configuration state so that the next boot of TinyCore starts with all your settings. Restart the VM:
./rploader.sh backup
Please make sure you are using the latest 1GB img before using backup option
Current /home/tc size is 284M , try to keep it less than 1GB as it might not fit into your image
Should i update the sda with your current files [Yy/Nn]
y
Backing up home files to sda : Backing up files to /mnt/sda3//mydata.tgz
Done.
exitcheck.sh reboot- When the VM restarts, the GRUB boot menu lists additional entries. The default boot menu entry should be Tiny Core Friend
Configuring DSM
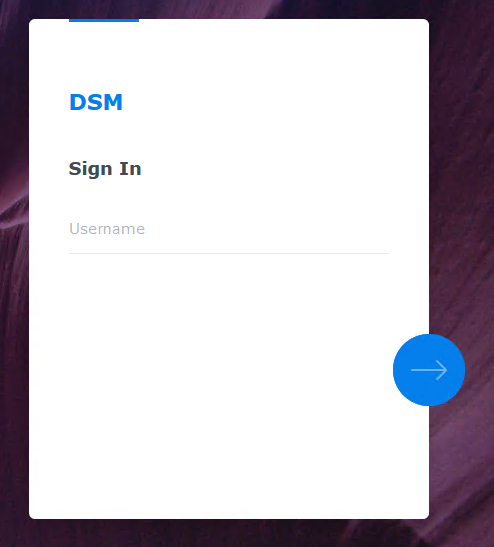
With the bootloader built and the VM restarted into Xpenology instance, we can start the process of setting up the instance of DSM. DSM is managed through a WebUI and typically listens on TCP 5000.
- Point a browser to http://ip_address:5000. If you don’t know the IP address of the DSM (it may have changed over the reboot), you can use the tool at https://find.synology.com.
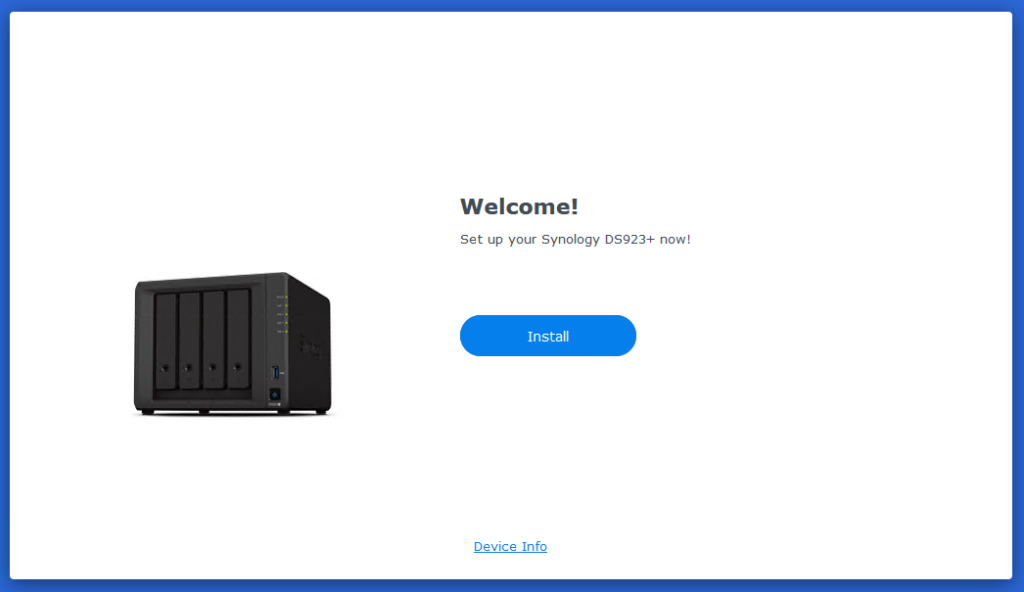
- Click on Install.
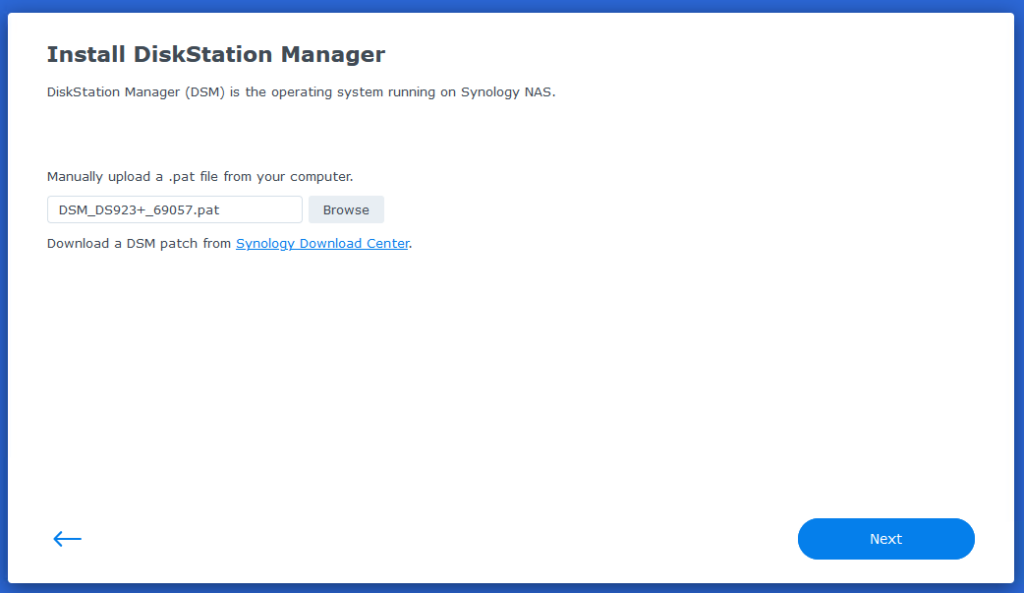
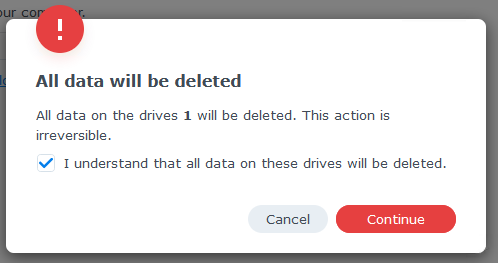
- In this step, we have to download the software from Synology to install on the DSM instance. Even though the building of the bootloader process downloaded the software, this still needs to be performed manually. Click Next to follow the process, and accept the warnings to delete the data.
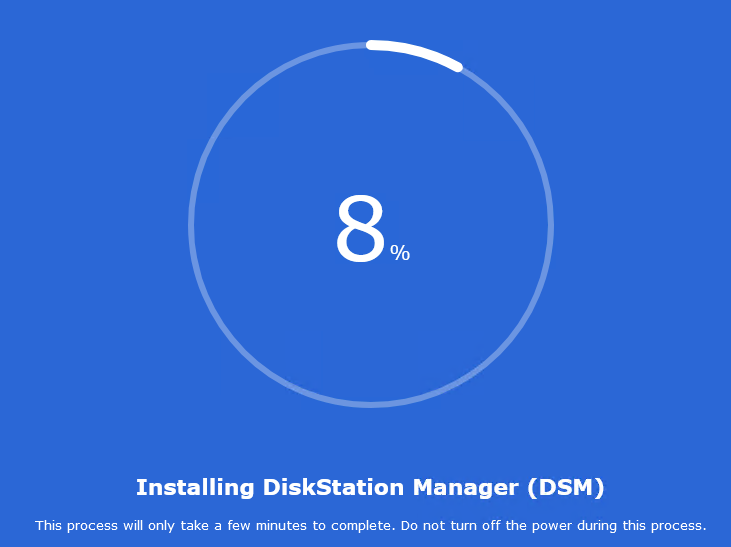
- When the installation has completed, the appliance will reboot.
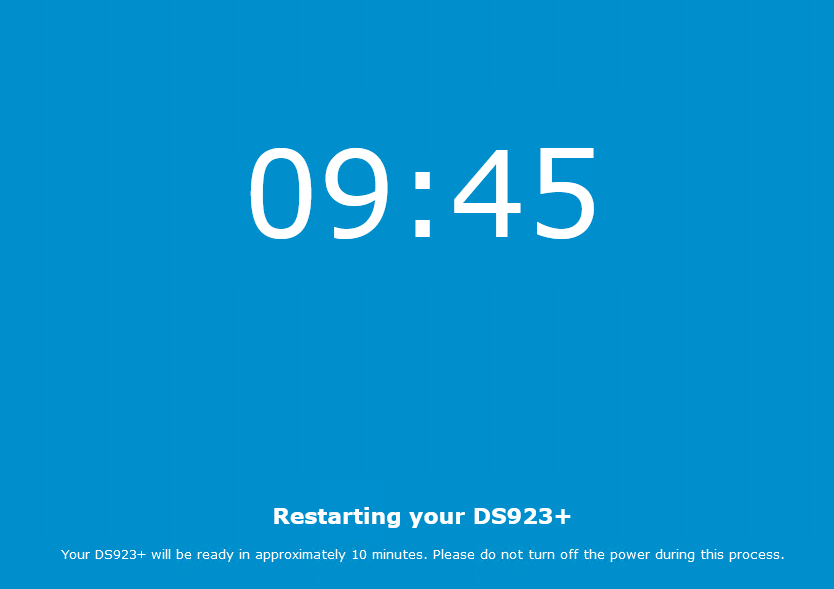
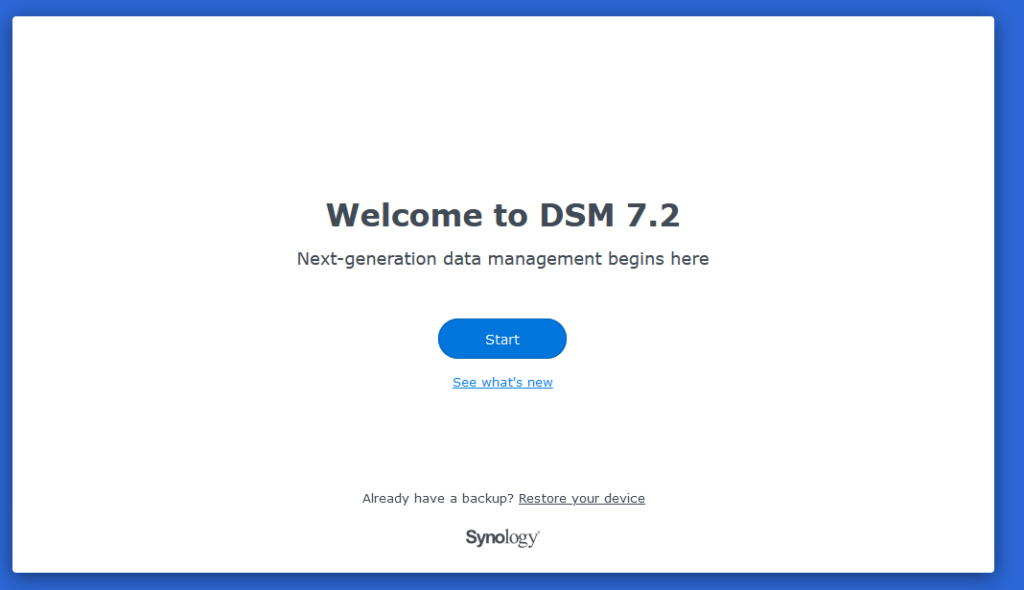
- When the appliance has rebooted and completed initialisation, you will be presented with a getting started screen. From here, you can perform the typical configuration tasks to get the device operational within your environment.
Updates
From experience, it’s recommended to perform updates manually. Allowing automatic updates can result in the DSM failing to boot. If this happens, there’s not much that can be done to correct this issue*.
(* there likely is a way to recover a failed system, however this process is beyond the scope of this article)
- Download the required update appropriate for your appliance from https://archive.synology.com/download/Os/DSM
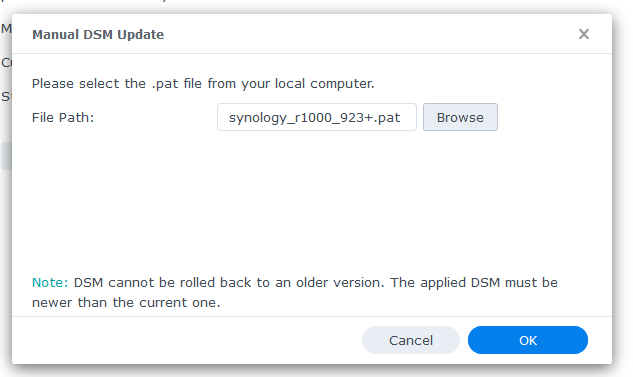
- To update the DSM, open the Control Panel and navigate to the Updates & Restore section. Click the Manual DSM Update button.
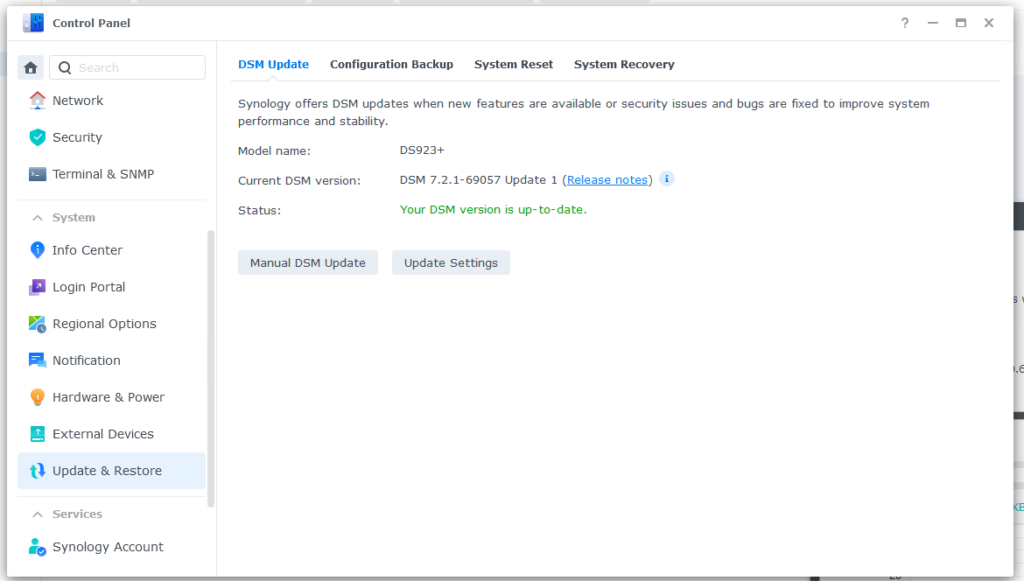
- Select the PAT file that you downloaded, and click OK. The update may result in a reboot of the appliance.
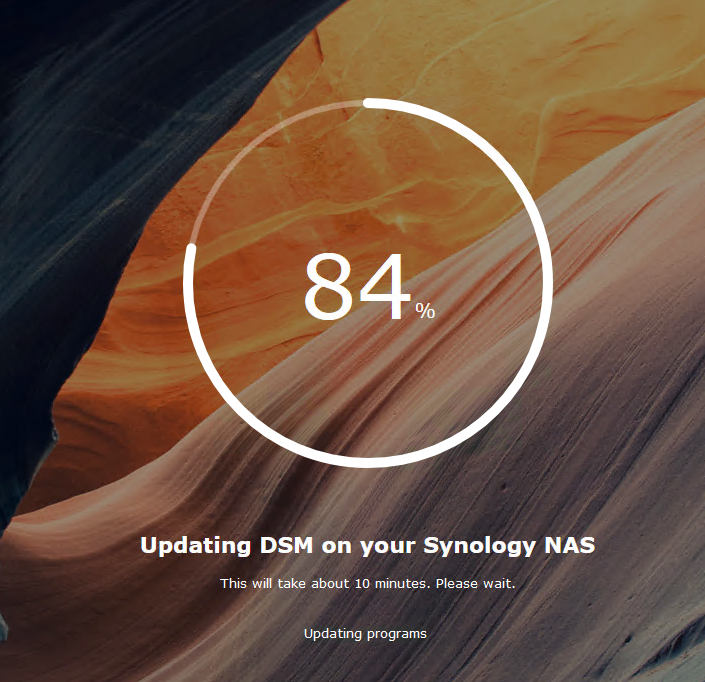
- If/when the update is successful, you should be redirected to the login screen. Log in to validate the update.